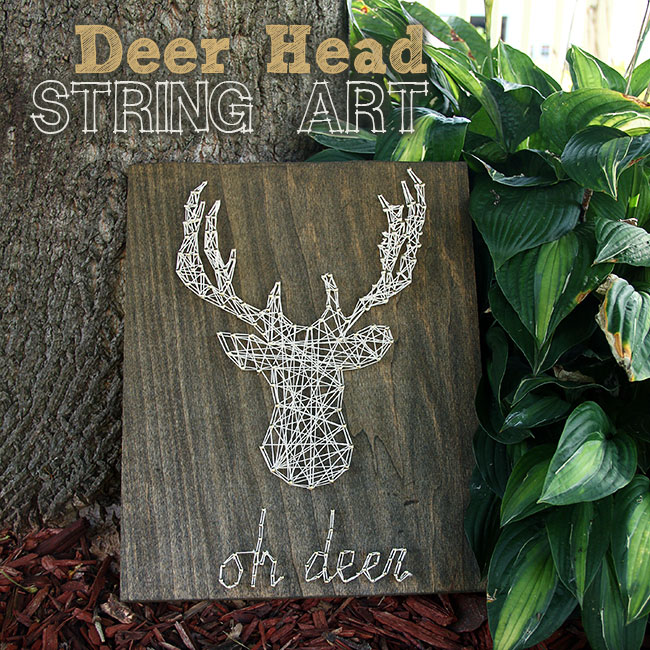
Pictures of a String Art Deer Head Deer Antlers
I have been trying to cease this craft project for over a month! Distressing I haven't had many crafts lately, just July into August was then busy with vacations, the kids keeping me busy while they were off from school during the summer… and so school started. I am just now coming up for air! I take some really fun fall craft projects that I will be sharing starting in September. I really get excited well-nigh crafting, decorating and DIY projects in one case Autumn starts! This projection all came about when I saw this scrap piece of wood in the garage. I know that happens to a lot of other crafters, but seriously… I knew I was going to stain it and come upwardly with a nice and smashing string art project with information technology!
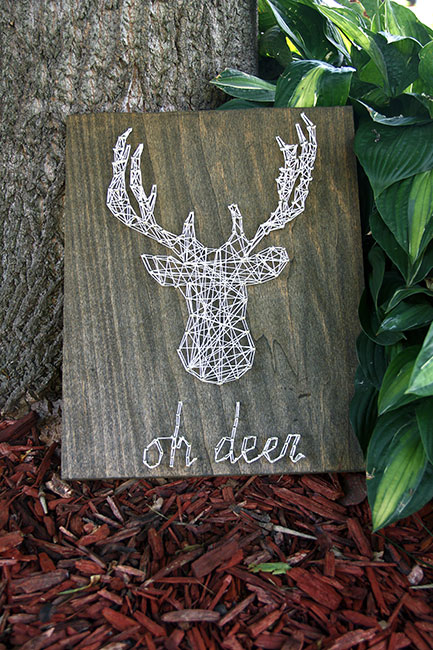
I but recently bought a gold deer head from Hobby Entrance hall that the married man just hung this last weekend (eeeek!). I had a lot of ideas for string fine art too doing a deer head, such every bit the state of Missouri with a heart over St. Louis or fifty-fifty the Eiffel belfry… Only, the shape of the wood was perfect for a deer caput and a piffling phrase on the bottom… so, I went with the all too popular 'oh deer' phrase of grade!! Gotta love it, correct?!
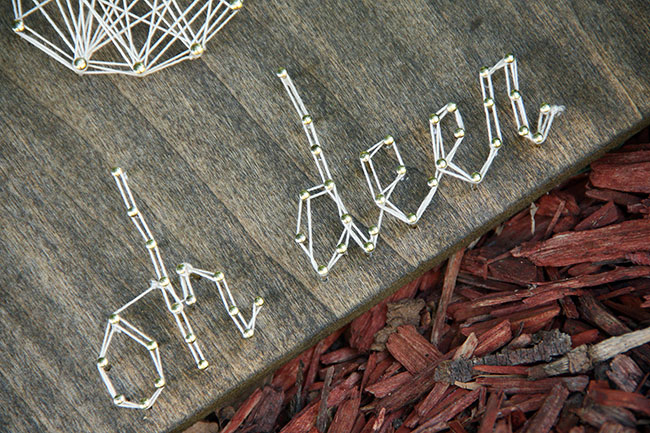
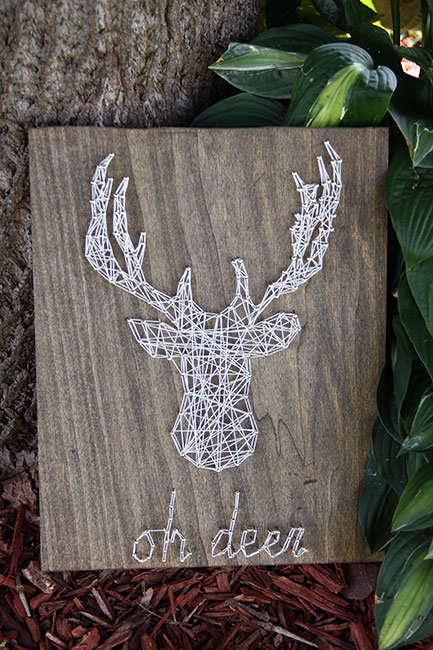
The phrase 'oh deer' fit perfectly on the lesser… I will admit, I was a petty worried to string letters, simply it turned out merely fine! I think it really makes the whole piece!
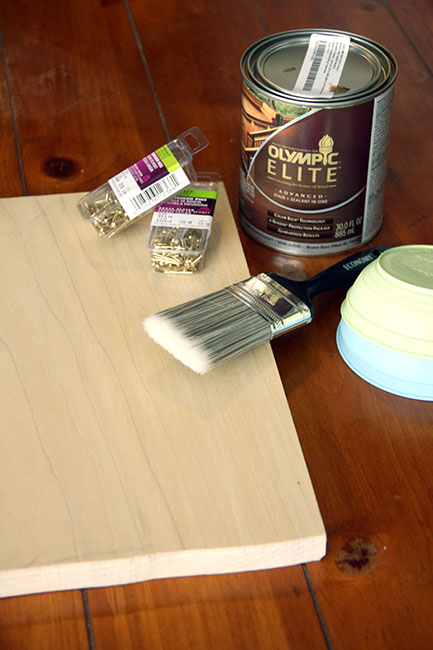
We had some stain in our garage from when Brian stained our mailbox and from when we were going to stain our wooden bench on our porch (but, never did). Yet, these stains weren't the color I envisioned for this projection… And then, off to Lowes I went, which is nigh up there with Target and Hobby Anteroom when it comes to my favorite stores listing! I went to the pigment department and found a pint of transparent stain and selected a color from their chart. I wanted a nighttime wash, so I went with a darker stain. Seriously, this stain was the about expensive part of this project… $eighteen for a small tin can! BUT, I plan to use it over again for something else… I hope. 🙂 And so I bought two packages of nails at $1 each, which was actually cheap! I purchased larger headed nails for the deer head and thinner headed nails for the 'oh deer' phrase.
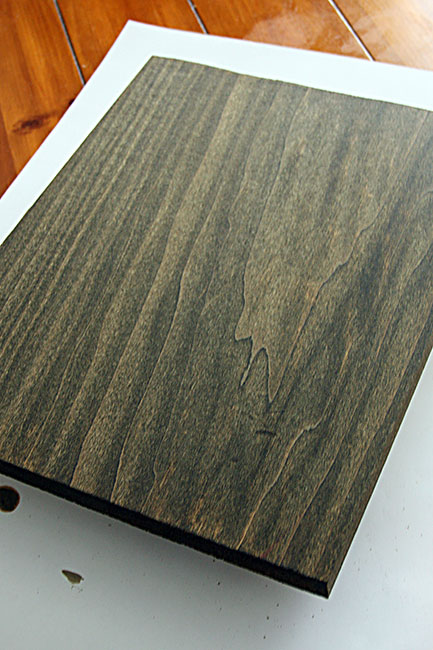
First, wipe down the woods with some newspaper towels and water and permit it dry. Then, I prepare two small baby bowls under the piece of wood, then that I could paint the sides of the wood easily. I only painted 1 glaze of the stain on the wood, because I wanted to forest grain to show through. It was a transparent stain and I could have probably washed another coat, just I really liked how information technology looked after one coat. Then I allow it dry for the remainder of the solar day.
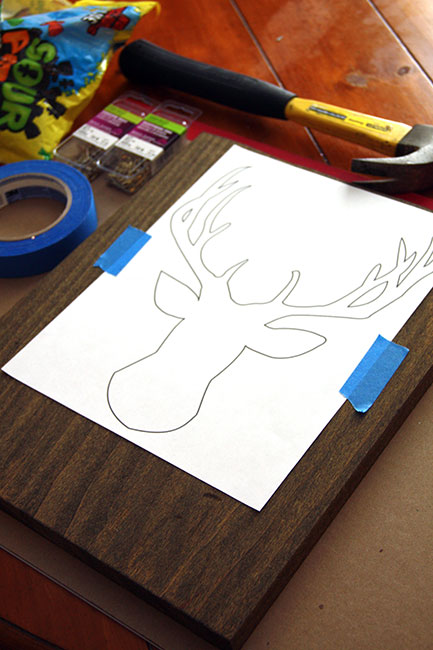
I printed out an outline of the deer head on my inkjet printer and used paint safe record to adhere it to the wood.
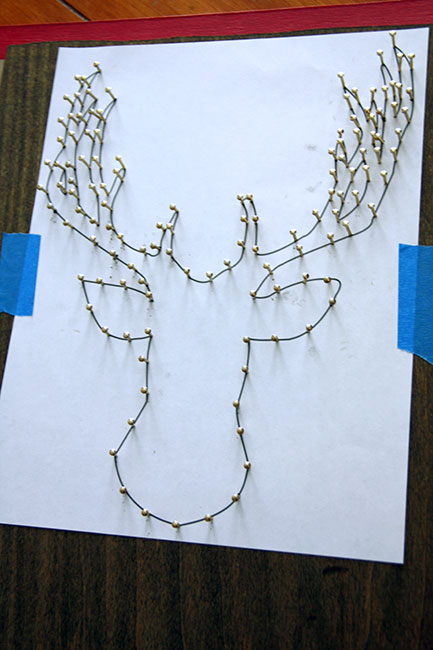
And then start hammering your nails along the border of the outline. This is pretty tedious and my hand got tired a lot. Also, a lot of the nails were actually shut while I was doing the antlers and it got to be a niggling tricky. Just, ohhh, the terminate result is SO worth it.

Practice the same with the letters, print out a template and hammer the nails over the lines of the letters.
I was wondering how piece of cake the newspaper would exist to pull off over the nails, but it came off actually easy. You will now see all of the nails on the wood and you'll detect how disruptive the nails look around the antlers of the deer caput! You will want to look at a photo of your outline while stringing, so you can call back what you need to cord!
I should accept taken a photo of this… just get-go yous will tie a knot of the end of the string to one blast and then you'll wrap the string in and out of the nails around the unabridged outline of the deer head offset. After you've outlined information technology TWICE and outlined whatsoever negative spaces (you'll need a small piece of string to do those areas), you can start stringing the entire slice. You will just go from one blast to the other and the string will eventually fill up in all of the bare spots. I would wrap the string around the blast head ane time before bringing the string across to the adjacent nail. By wrapping information technology around the nail caput, you lot secure it better then if y'all only wrap it along one side before going to the side by side smash.
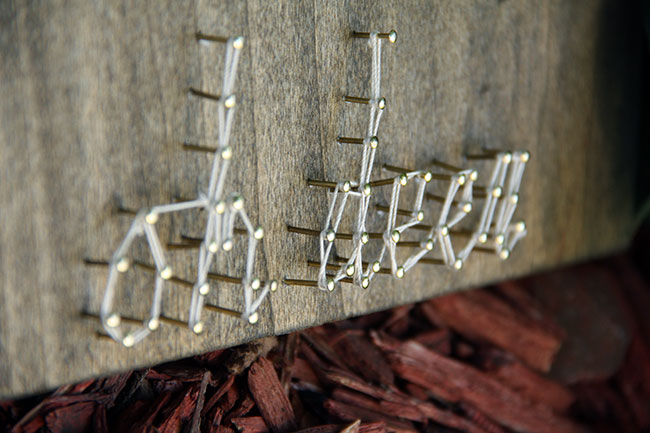
For the letters, I would tie a knot on a nail and string effectually each letter for each discussion, cut and knot and then start over with the next discussion. I would outline the messages two times for thickness.

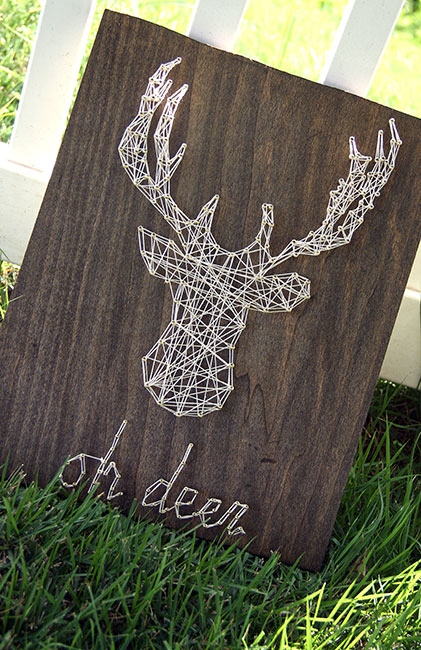
The string is not white, it is sort of a cream/light tan color. I idea this went really well with the color of the stained wood.
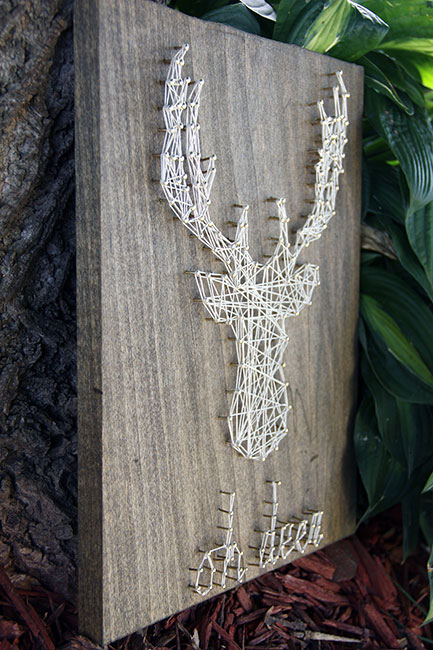
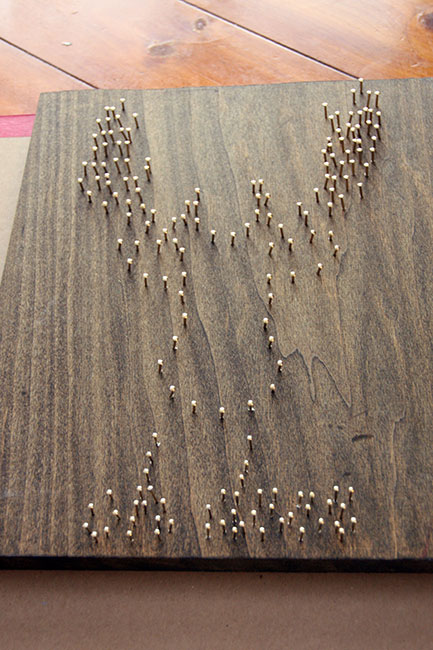
Here is a side view, y'all can run into that I used a lot of nails for this projection!
Now I am trying to decide what my side by side string fine art project volition be… perhaps some small ornaments for my Halloween tree!
nicolluncloyesseen.blogspot.com
Source: https://www.curlycraftymom.com/2014/08/oh-deer-string-art.html
0 Response to "Pictures of a String Art Deer Head Deer Antlers"
Post a Comment